

How To Shape Gif Animation In Gimp
Introduction to GIMP GIF
GIF stands for Graphics Interchange Format, which works equally a video file just has file extension as an image file that means when you open it, yous volition see a looped animation on information technology rather than is the image. In GIMP, you tin can create information technology by arranging scenes of any animation on dissimilar layers in sequence, or you can have text animation or shape animation by having them on different layers of GIMP. Y'all just have to arrange them in that sequence in which you want to prove them on your gif. We will also understand export parameters and their features for creating gif of our sequenced layers. So let us analyze every attribute of it. In this topic, we are going to larn about GIMP GIF.
How to create GIF in GIMP?
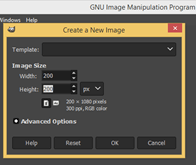
Y'all can take images or describe shapes or text on a different layer for making gif in GIMP. We will sympathize it by creating some geometrical shapes of different colors and sizes on dissimilar layers. Then for that, let u.s.a. take a document of 200 x 200 px size. Nosotros accept the smaller size of the document for gif so it can work properly and has not big file size.
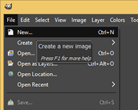
Get to the File carte of the menu bar and click on then go to 'New' option of roll down list and ready size in the dialog box as 200 x 200 and then hitting Ok.
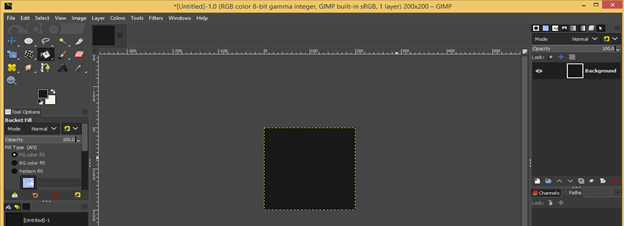
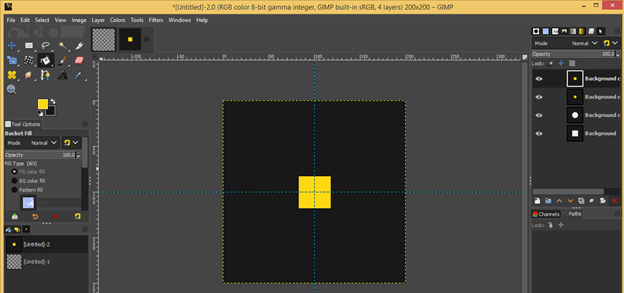
At present we will accept our document of the desired size here. I will fill the background layer with blackness color. You can fill up it with your desired colour.
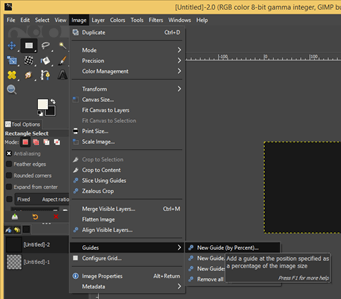
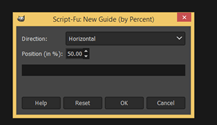
Now permit us take guidelines for having the centre of this document. For horizontal and vertical guide got to the Prototype menu of the bill of fare bar and click on it, then go to the Guides option and click on the New Guide (by percent) selection of the new scroll downward list. Cull a horizontal selection with fifty % in the dialog box and repeat this to choose the vertical option with 50% in the open dialog box.
And we will take our guidelines here and volition have the centre of the document at the crossing of these two layers. Now have the Rectangle Select Tool from the tool panel of GIMP or press the R push button as brusk cutting key.
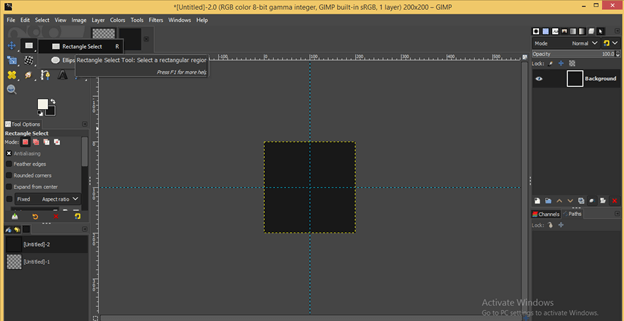
Draw a square similar this by using the rectangle select tool and motility information technology at the center (at the crossing of guides) of the document.
Fill up this rectangle with white color. For filling it, set white every bit the foreground color of the color box and go to the Edit bill of fare, so click on Fill up with FG color selection of scroll down list.
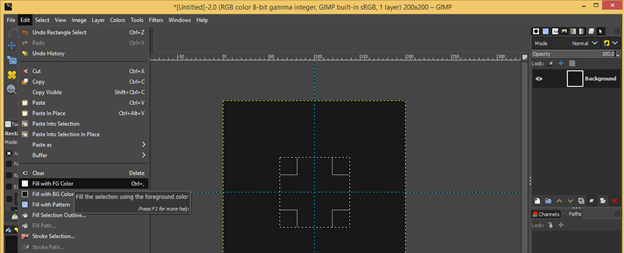
Disable selection around this rectangle. For this, click on the None option of scroll list of Select menu of the menu bar.
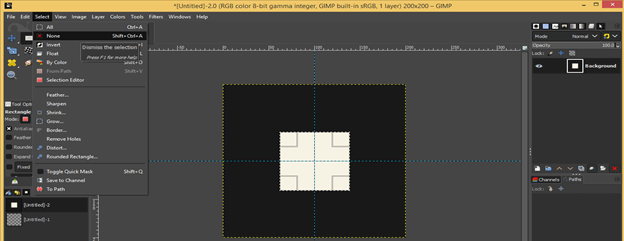
Now make a duplicate layer of this layer by click on the Create duplicate button of the layers panel of GIMP, which is at the bottom of the Layers panel.
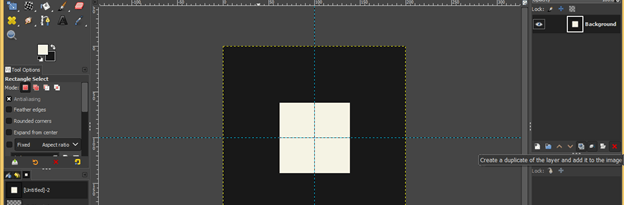
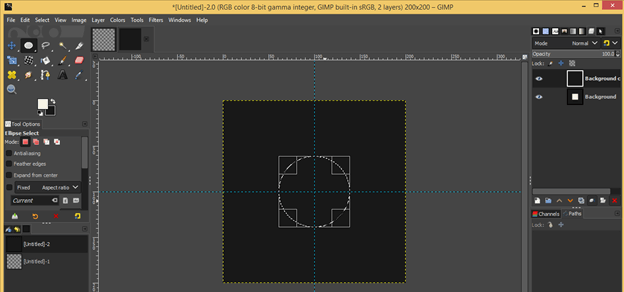
And delete foursquare from the indistinguishable layer. For deleting it select it and striking on the delete button on the keyboard. Now have Ellipse select tool from tool console of GIMP or press E button as short cutting key.
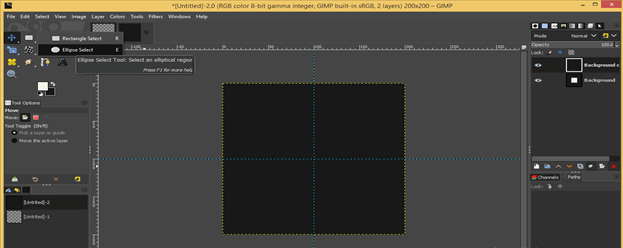
Draw a circumvolve almost the aforementioned size every bit the foursquare which nosotros draw on the previous layer and move it at the heart of the document.
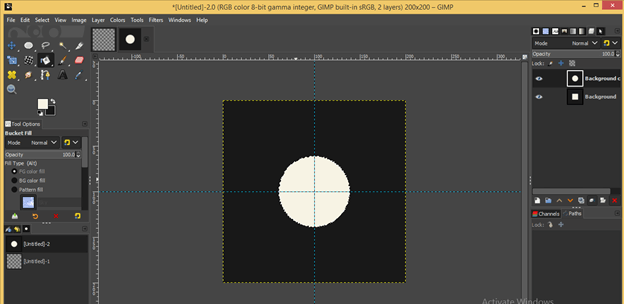
Make full information technology with white color. You tin can use the bucket tool of the tool panel also for fill color in this circular selection. Just set your desired colour equally the foreground color of the colour box and take the saucepan tool from the tool console, so make click on the circular selection with this tool to fill up it upwardly.
Disable choice by click on the 'None' option of the select bill of fare of the menu bar and again make a duplicate layer of it by click on the Create indistinguishable push.
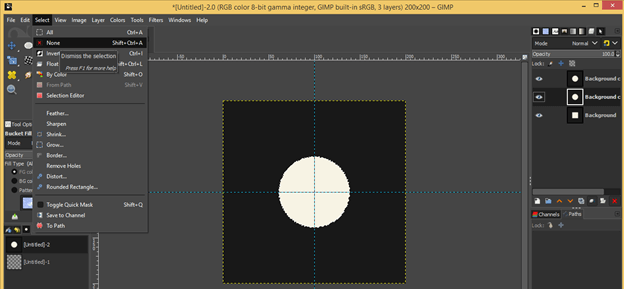
This time we will make a circumvolve of smaller size by using the same ellipse tool and fill up it with yellow colour. You tin can make full it with your desired colour.
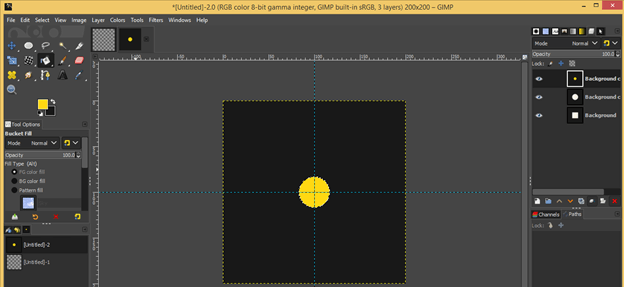
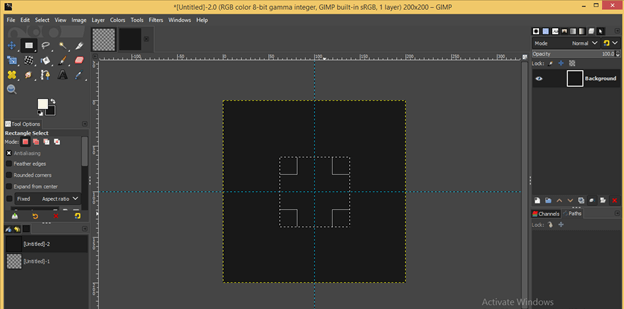
Make i more duplicate layer past the same method and draw a square again (by using a rectangle select tool) of a smaller size than the previous square with yellow color equally its fill color. You can go with another colour as well.
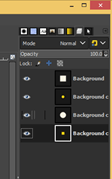
Now go to the layers panel of GIMP and arrange your layer in sequence in which you want to show them in a gif file. Arrange them from top to bottom in the layers panel. Y'all can give a number like the name of your layers for a better arrangement of them if y'all have several layers. I will arrange my layer in this sequence.
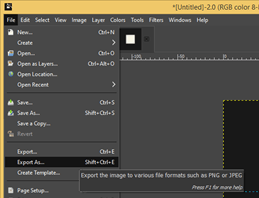
Now click on the File menu of the carte bar, and a ringlet-down list will be open; then click on the 'Export As' option of ringlet downwards list or press Shift + Ctrl + E as short cutting key.
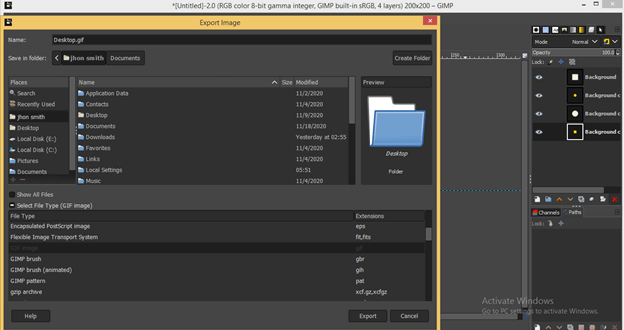
We will have an Export Image dialog box like this. Here, name your gif file as per your choice and choose the location yous want to relieve on your computer. I volition relieve information technology on the desktop of my computer.
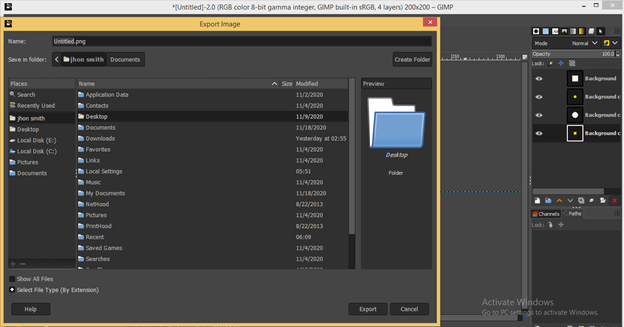
Now click on the 'Select File Type' option of this dialog box and cull gif extensions equally file extension from the file blazon list, then hitting on Export button of this dialog box.
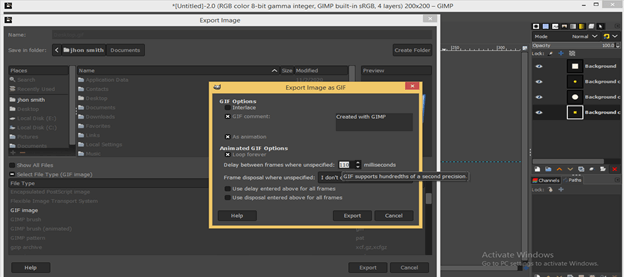
A new dialog box will exist open. Enable the 'As animation' option in this dialog box for making gif animation of your selected layers.

You can choose the time gap between transitions of sequenced layers. One time you set all parameters of this box, hit the Export button.
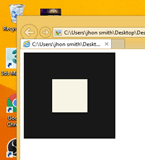
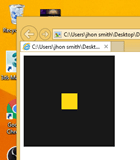
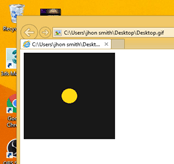
And now, when nosotros open up our gif file from our saved folder or location, we will take a transition between shapes which nosotros have drawn on separate layers of GIMP. The transition betwixt them volition be continuous because it is a looped cycle.
This manner, you can create a GIF file in GIMP of your own image file or any shape file with your desired transitions.
Conclusion
This was an instance of creating a gif in GIMP, and I recollect now y'all tin properly sympathize how you lot tin create a gif past using an image or shape or text on a different layer? You tin can also make several changes in its parameters for getting a ameliorate result in this characteristic.
Recommended Articles
This is a guide to GIMP GIF. Here nosotros discuss How to create GIF in GIMP, along with the example of creating gif in GIMP. You lot may as well await at the following articles to learn more –
- Alternative for Lightroom
- Action in Illustrator
- Create Table in Illustrator
- Filters in Illustrator
Source: https://www.educba.com/gimp-gif/
Posted by: holladaywillith.blogspot.com
0 Response to "How To Shape Gif Animation In Gimp"
Post a Comment